Wednesday, June 23, 2010

Watermelon Gazpacho

Ah, summer. That magical time of year when I longinly look outside thinking that going outside would be a great idea, then I go outside only to assualted with 95 degree heat and/or 90% humidity. Ah, summer. Also, the magical time in which treats like watermelons become affordable and my garden produces edible produce. Both fantastic events occurred last week. The farmer's market at work had big watermelons for $3 each and my tomato plants gave up some red tomatoes (probably because I've been singing them to begging for red tomatoes already and they were tired of hearing it). What can you make with watermelon and tomatoes? Watermelon gazpacho of course.

For this delightful cold soup, you'll need: one large watermelon, one yellow bell pepper, one red bell pepper, a few tomatoes, some spicey peppers, a cucumber, a red onion and whatever else you choose to season with. Not pictured are my seasonings, including: red wine vinegar, cayanne pepper and goat cheese.
First, go see what you can find in your garden.  The two tomatoes, banana pepper and jalapeno came from my garden. I picked everything that was ripe, so we'll give these tomatoes some time to mature. Hopefully the infiltrating cucumber plant will produce something soon that's not just a flower, because I'm getting tired of waiting for cucumbers.
Now to chopping. One suepr-great-fantastic thing about this soup is that you don't cook anything. Perfect for those super hot days when turning on the stove is a terrible idea. I started with the cucumber, peeling, seeding and dicing about 1/2 of a long cucumber.
Next, I diced half of the red onion and threw it into the bowl with the cucumber.
Now, the tomatoes. I diced two medium garden tomatoes and threw them into the bowl too.
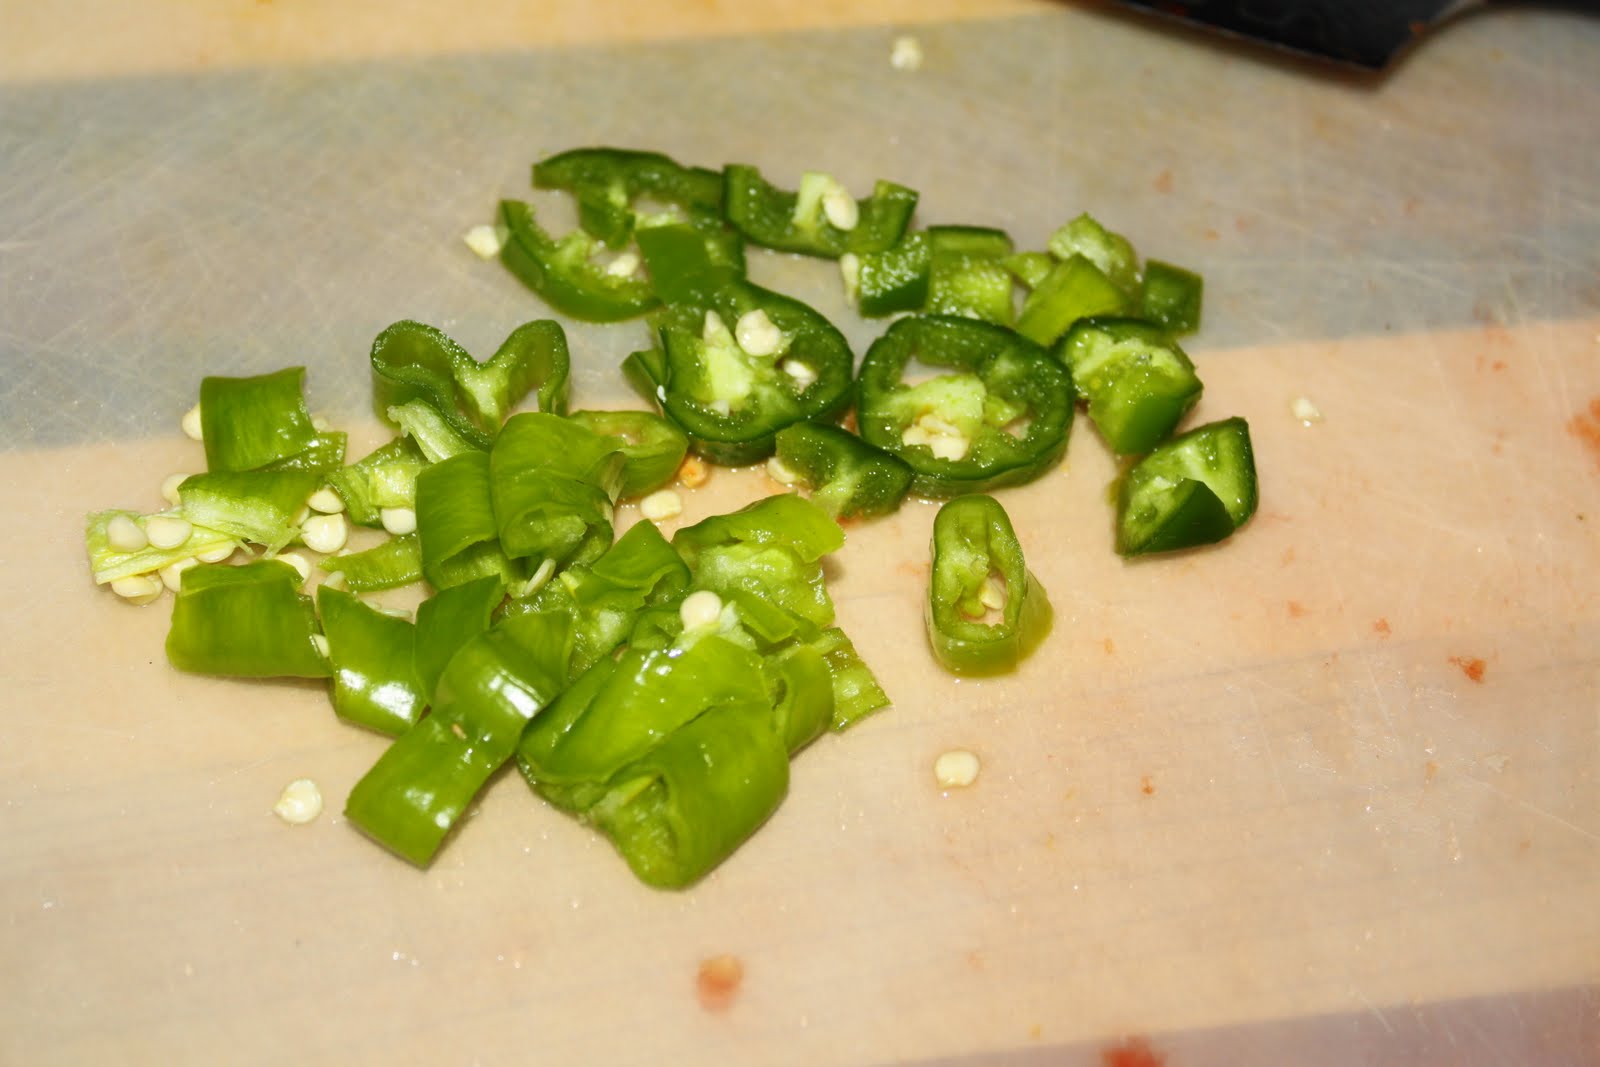
Then, the peppers. I started with the banana pepper and jalapeno, coarsely chopping them and their seeds, and also throwing both into the bowl.
Now, the bell peppers. I diced both and (of course) threw them into the bowl.
Finally, the watermelon. I'm strongly considering referring to whole watermelons as mess melons from now on. I will show proof of this mess later.  First, you need to crack this baby open. If you're lucky like me, you have a husband who is happy to grab the biggest knife in your shared knife collection and do this for you. You want to cut the melon in half, then cut each half into large slices.
You'll need about five cups of diced watermelon.  Keep the diced pieces to roughly the size that would fit on a spoon, since some will be going into the soup whole.
While dicing the melon, I considered giving an entire rind to the begging puppy. But thought better of it. The rind, however, makes a fantastic photo prop for those times when you just really don't want to smile.
Since the puppy was already begging, Brian threw him some melon (of course I didn't chop all 5 cups myself, that would be crazy talk, I was too busy making rind smiles). The puppy normally hates all sorts of wet or cold foods and most fruits. Unless Brian gives it to him, then he loves everything. He will eat anything Brian gives him. It's really a little bit insulting since he usually just licks the things I give him and leaves them on the floor for me to pick up.
After all this watermelon fun, divide the choped melon, with one cup going into your veggie bowl and the rest in another bowl for pureeing.  If you cook like I cook, you should have the beginning of a raging mess on hand as well.
Puree the watermelon using any device you'd like.  I tried using the blender because it's way easier to clean than the food processor, but found I cut the chunks too big and they weren't getting into the little blender propeller blade. So I had to bust out the food processor. I honestly wish I could remember who gave this to me and Brian as a wedding present, and I sincerely apologize if the gifter is a reader. I'm going to say it, I ♥ this food processor. At first I thought I would never use it. Now I find myself using it to do things like grate cheese, because using the actual cheese grater would just be too hard. Using it to puree the watermelon proved to be a double edged sword.  Mistake #1 - filling the prep bowl too much so that when the melon turned to liquid, it was above the 'max liquid fill line' and some leaked out. Mistake #2 - forgetting that once you remove the processor blade from the bowl and take the bowl off the stand, liquids leak out. Result of these mistakes - even more mess and some wonderfully pureed watermelon.
Transfer the pureed watermelon to the veggie bowl, mix well, cover and refrigerate I did not mix mine very well because when I served Brian and KMS a little shot glass worth of gazpacho as a precursor to Sunday taco/burrito dinner, KMS said hers was delicious and Brian says his was hot like fire and opted to not finish it. Oops! I guess he got all the jalapenos!
Let this refigerate for a few hours, giving everything a chance to cool and flavors to marry. This is also a great time to clean up the gigantic mess you probably made. Let me show you mine. First there were small appliances galore to wash, and I hate washing dishes.
Then there were the countertops. I (stupidly) thought cleaning them with a white towel would be a wonderful idea. Luckily, my mother sends me kitchen towels like it's going out of style, so I have plenty to spare when this one doesn't come clean. It goes without saying that I'm a hot mess.
Back to the soup, I let mine chill for a few days because I went to South Carolina for Father's day. When I got back and before serving the infamous gazpacho shot glass of death, I added a splash of red wine vinegar and a bunch of cayanne pepper, probably a tablespoon.  Immediately before serving, top with a bit of goat cheese and enjoy!  I have no pictures of said final product because I've been battling a headache for a few days and kept forgetting to get the camera from upstairs before eating my soup. I'm sure all 10 readers out there can imagine what a single serving of feta topped gazpacho looks like. 

Tuesday, June 15, 2010

Carrot-Curry-Coconut-Cold Soup

Atlanta is currently suffering from nearly record breaking heat. It was, no lie, 87 degrees out when I got to work at 9 AM this morning. I think the day clocked in around 95 degrees, which was not a record high temp for this day, currently held by June 15, 1952 with a temp of 96 degrees.  My usual summer plan of walking Harley-face and running a few miles in the morning to beat the heat, is just not working these days. Alas, I think it is time to quit the hot soups for a few months. This is my first foray into cold soups, so hopefully it goes well, or else it will just be gazpacho and cucumber-mint soup each week until summer ends. Cold soup #1 = Carrot-Curry-Coconut-Cold Soup.

The ingredient list for this baby is pretty small. Just an inch or so of fresh ginger, one sweet onion, a bunch of scallions, 7-10 whole carrots, curry powder, broth of your choosing, coconut milk and a lime.
Start with the ginger.  First cut off its ugly brown skin. Then, get our your trusty box grater or microplane. One of the many themes in my house is, 'Go big or go home' so naturally we have a giant box grater.
Grate the ginger until you have about a tablespoon of it. I found that grating it on an angle worked best, otherwise I ended up with ginger pulp.
Next, chop the onion putting it in the bowl with the ginger.  I had a pretty large vidalia onion today, so I only used half of it, and threw the other half in the delicious tomato-cucumber-onion salad KMS left in my fridge when she was over for World Cup last week. I continued to pick at the salad for the duration of my cook time because it is so delicious.
Next, the scallions.  I don't really appreciate scallions or know what to do with them. Specifically, I don't know which parts are edible and which parts I should throw away. I literally have to ask Brian where to stop cutting them every time we have them, but he was in Kansas (looking for Dorothy) when I made this, so I just had to go on instinct.  I sliced about 1/2 of each scallion, tossing the dark green tops. Throw these in the ginger-onion bowl.
Now, the carrots.  I peeled 7 carrots for my soup. Then I had what I thought was a fantastic idea to use this super cool peeler like thing that actually juliennes carrots. After using this cool tool on about 1/4 of one carrot and throwing carrot slices all over my kitchen, I realized this was a bad idea.
If only MD or CJ were around with the bad idea bears when I realized this. They weren't but Harley-face was. At first he was pretty unsure of the carrot.
Then he realized it was food and wanted it. If you look really closely, you can see his missing teeth, compliments of his aggression towards the doorbell and the fact that the doorknob is always in the way of him getting outside.
After a five minute giggle fest at Harley's new found love affair with carrots, its back to actually slicing the carrots.  I experimented with the most efficient way to cut these up, settling on thin rounds.
Now to cook, heat a large soup pot over medium heat and throw in a bit of olive oil.  Once its hot, throw in the ginger-onion-scallion mix.
Immediately add a hefty portion of curry powder, at least a tablespoon. I also threw in about two teaspoons of garam masala. Add salt and pepper to taste as well.  Stir this all up and cook until the onions are softened, about 5-8 minutes.
Next, add the carrots and broth.  I only added two cups of broth because I didn't want to make more than three servings of soup. If you're making more soup, just add more broth (obvi). Reduce heat to medium, cover and simmer for at least 20 minutes or until the carrots are very soft.
Remove from the heat and give it a taste. I thought mine needed more spice, so I threw in more curry powder. Add one can of coconut milk and stir. 
Lastly, get out your trusty stick blender and blend until smooth.  This would likely be delicious not blended, but I was in the mood for soup that actually looked like a beverage. A oddly colored orange beverge. Before seving, garnish with a little fresh lime juice.  I'm intending to eat this cold, but I sampled it while it was hot and it tasted pretty yummy. I think it could go both ways. Enjoy!

Monday, May 31, 2010

Cape Malay Curry

In honor of World Cup starting on June 11 in South Africa, Brian suggested making something South African (side note - all soups in the month of June may be inspired by the outcomes of important World Cup games). I did a little research since I had no earthly idea what kind of soups are common in South Africa and came up with several stew recipes (or bredie recipes) involving oxtail or mutton. Now, I regard myself as a semi-adventurous eater, but my typical American snobbish ways prevent me from having any desire to cook oxtail. If I have to go to some specialty, ethnic food market to get a meat ingredient, I believe that I do not know how to properly cook it and shouldn't even try. Am I missing out on something delicious? Probably, but I'm okay with that.  After an hour or so of disheartening research resulting only in said bredie recipes, I remembered the wonderful curry dishes I ate while in Cape Town a few years ago. Surely there must be a South African curry out there. The wonders of the interwebs found me this delicious Cape Malay Curry.

For this gem you'll need: some meat, I went with beef, 1 large onion, 2 cloves of garlic, about an inch of fresh ginger root, 1 large or 2 medium eggplants, 1 green bell pepper, curry powder, turmeric, cinnamon, cloves, cumin, coriander, hot smoked paprika, bay leaves, beef broth, tomato paste, red wine vinegar, dried apricots, plain yogurt and apricot preserves.  I know it looks and sounds like an awful lot of ingredients, but they are mostly spices, so don't worry.

First, chop the meat into stew sized chunks.  I had this hunk of beef in my freezer and didn't feel like buying any more. It is pretty small, maybe only 3/4 of a pound.  Feel free to add more if you like more meat. Also, lamb would probably be good here.
Next, mince two cloves of garlic, dice one large onion, and peel and mince about an inch of ginger root.  These can all hang out in a bowl together.  If you can't find fresh ginger, or think it's super annoying to have to peel it, ground ginger is okay, probably about 1/2 teaspoon.
Now, chop up the rest of the veggies.  Cube the eggplant into one inch cubes, dice the bell pepper and set aside together.  I used a ton of eggplant because I didn't have much meat and I really like eggplant. Feel free to use less eggplant if that's more to your taste.
Next, the spices.  I normally don't measure spices, but I don't have a good appreciation of which spices and in which proportions make a tasty curry, so felt it was prudent to measure here. Into a small prep cup, measure one teaspoon each of curry powder, coriander, cloves, and turmeric, and 1 1/2 teaspoons each of cumin and hot smoked paprika, and 1/2 a teaspoon of cinnamon.  Also add a pinch of salt and stir.
Now, for cooking. I used a cast iron dutch oven. Heating it over medium-high heat and adding some olive oil.  Once the oil was hot, I added the spice mix and toasted the spices for about a minute.

Then I added the onions, garlic and ginger mix and 2 bay leaves, cooking for about 3 minutes.
Next I added the beef, browning on all sides.
Here's a fantastic picture of why the cast iron dutch oven is integral to this recipe.  Things really like to stick to the bottom of these cooking vessels.  These "things" are often delicious flavorful bits that must be scraped off the bottom of the dutch oven for your enjoyment. Once you get some liquid into this pot, it is super important to scrape the bottom to release the flavor.
Next, add the eggplant and peppers, stirring to mix.
Immediately add the broth. Be sure to scrape the bottom as well.
Next, add a small can of tomato paste, stirring to mix.
Then, add some delicious dried apricots.
Lastly, add a splash of red wine vinegar. Increase the heat to bring to a boil, then cover, reduce the heat and simmer for about an hour, stirring infrequently.
Once the curry is done, it will have a lovely, deep, reddish orange color. Immediately before serving, stir in a dollop of plain yogurt and apricot preserves.
This curry would be delicious with some rice. I didn't feel like making rice, so I opted for a stale piece of pita bread. The spice mix in the curry is truly tasty, so the curry is fine without added carbs as well. Enjoy and go Team USA!

Sunday, May 23, 2010

Fired Chili

I am tempted to not even share this recipe. It came out so good that some iteration of it will likely compete in this Fall's Chomp and Stomp in Cabbagetown. However, I promised my sister that I would write a chili recipe in honor of her 30th birthday this month. Amy loves chili, though I'm not sure she'll love this chili. I think she once told me that I put corn in my chili just to spite her. Regardless, happy birthday Amy, here's some fired chili for you.  Why is this chili fired, you may be wondering. Did it suck at its job? Keep reading and you'll find out. For those few readers out there who may actually try to recreate this, good luck. I was intentionally vague in describing the spices that went into this baby.

You'll need: about 4 poblano peppers, 2 green bell peppers, 2 ears of corn, 2 cloves of garlic, 1 large onion, 3 chipotle peppers in adobo, a pound or so of ground meat of your choosing, 2 cans of black beans, 2 cans of fire roasted diced tomatoes, 1 can of tomato sauce, 1 ale style beer and unnamed spices.
To start, pour yourself a beer. You're going to be cooking with it, might as well have one while you're at it. If you're lucky like me, you stole a glass with puppies on it from your favorite dive bar while you were out drinking to celebrate your birthday several months ago. If you're smart like me, you keep this glass in the freezer so its nice and cold for any tasty beers you decide to have. Puppies!

This inspiration for this fired chili was that I really wanted to fire roast something on my stove. Why have a continuous grate, 5-burner gas cook top of you're just going to cook everything in pots and pans? To get the peppers ready for fire roasting, I sliced all the bell and poblano peppers in half, removing seeds and stems. I also husked the corn.
I neatly arranged the peppers and corn on the cook top, being sure that all were skin side down. As you can tell from this picture I'm not very good with the camera but I assure you that the long, non-descript lightly colored things in the middle are truly ears of corn.
I lit the burners on high heat and carefully watched and smelled the veggies cook. Depending on how dry the veggies are, you'll hear plenty of popping noises as the water is cooked off. Be sure to rotate the corn and check the peppers often. I found the bell peppers cooked much more slowly than the poblanos, so you may have to move them around. You may find that they will smell a bit burned, but that's what we're going for. Turn on an above the stove fan if you have one or open a window if the burning smell gets to you.
Pull the peppers and corn off the heat once they are charred. I didn't completely blacken the peppers, but you could if you like. Set these aside to cool.  If you don't have a gas stove, you can use a gas grill. If you don't have a gas grill, I believe you can use the broiler in your oven. Since I have both a gas stove and a gas grill, I just use those so I'm not certain about the broiler.
While the fired veggies are cooling, mince 2 cloves of garlic and dice one onion.  Set these aside in a bowl.
Then, mince three chipotle peppers from a jar of chipotles in adobo.  I broke out a trusty latex gloves to mince these since I didn't want an unfortunate hot pepper in the eye incident. Set this aside.
By now the fired veggies should be cooked.  Cut the corn off the cob with a small sharp knife, or even a large dull one, the corn should come off pretty easily.  I know there are special tools sold for removing corn from the cob, but they're pretty useless provided you own a knife. 
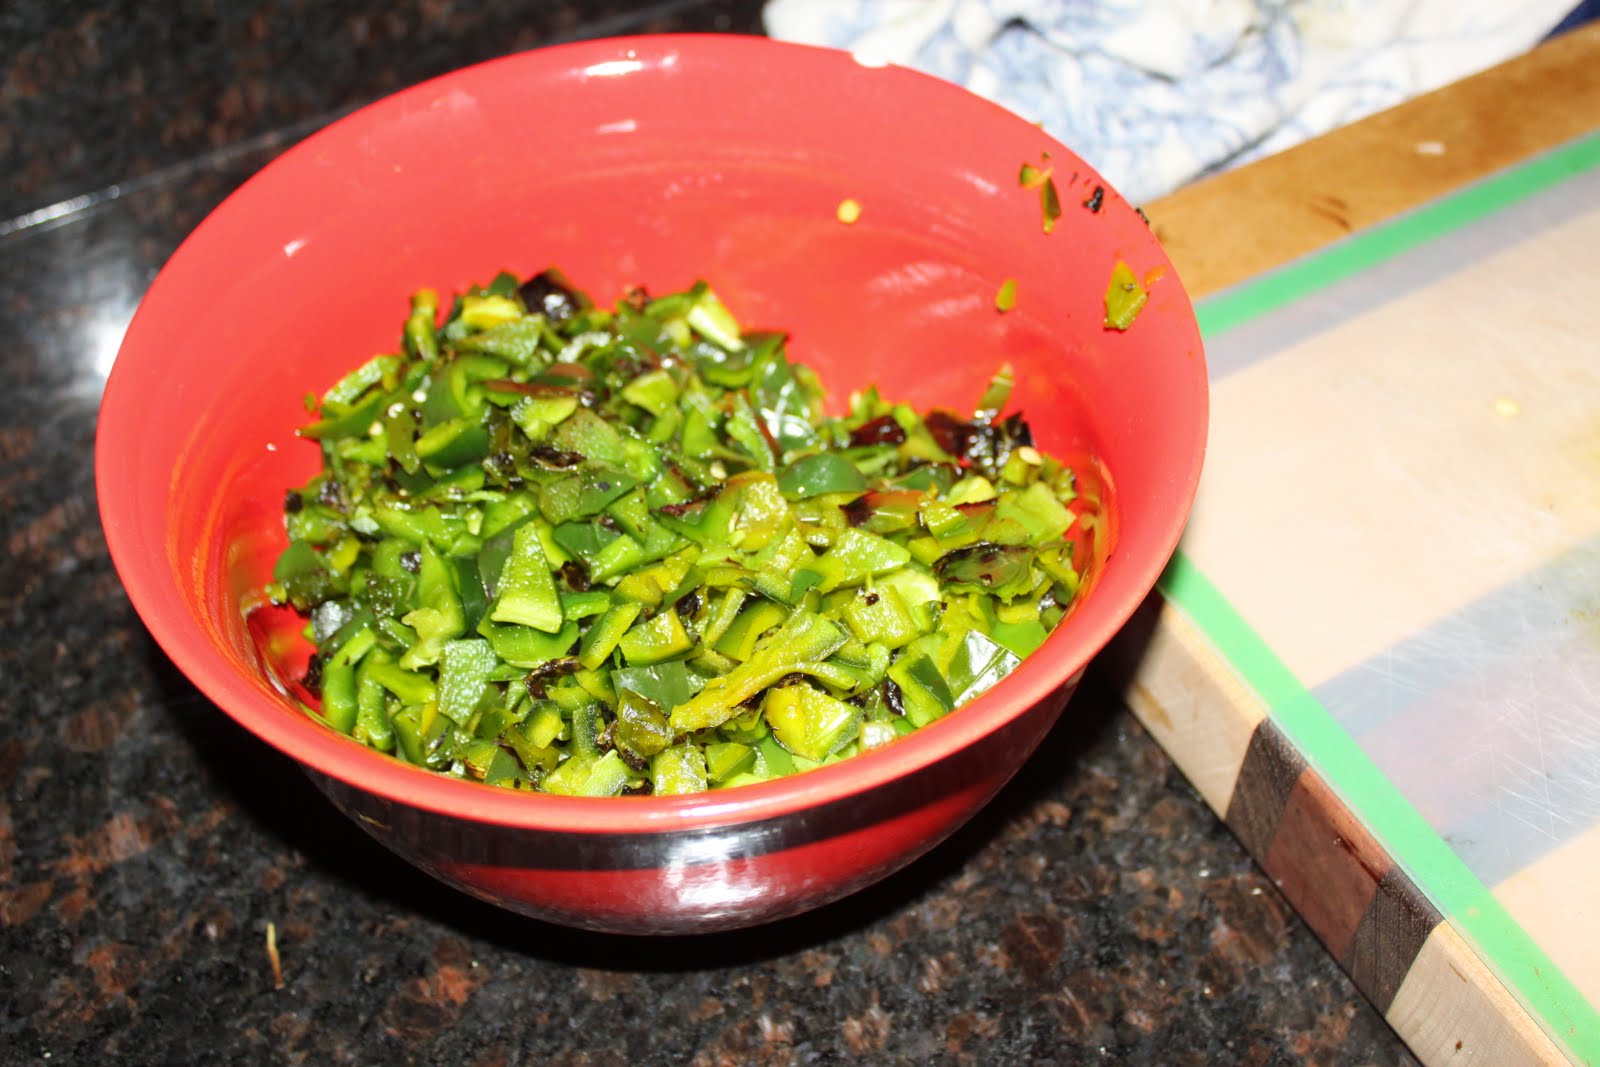
Remove the char from about half the peppers by rinsing them under cold water. Dice up all the peppers and set aside with the corn.
Heat a large soup pot over medium heat and throw in a little extra virgin olive oil.  When all is hot, throw in your ground meat, I used turkey, onions, garlic and half of the minced chipotle peppers.  I also added other spices that shall remain nameless.  Cook this until the meat is done, crumbling it along the way, about 10 minutes.
Next add the corn and pepper mix. Stirring to mix.  Cook for about 5 minutes.
Rinse and drain the black beans and add those in too. Throw in the fire roasted diced tomatoes while you're at it.
Try not to drop some black bean rinse water on the floor while transferring them from the sink to the stove. But if you do, hopefully you're trusty puppy clean-up tool will be around to help clean the mess.
Now, pour in the beerI went with a Kona Fire Rock Ale to keep with the fired theme. I also threw in the small can of tomato sauce because the chili looked like it needed more liquid.
Increase the heat to bring this to a boil, then reduce the heat to let it simmer for about 30 minutes.  About 15 minutes into my simmering, Brian came home and I let him spice this up a bit more with spices that shall remain nameless. Enjoy this gem topped with some cheddar cheese if you'd like. It was mighty tasty.
A side note for my Atlanta peeps - I do fully intend to enter this in the amateur competition at Chomp and Stomp. To do so, there will be at least one more practice round to perfect the recipe, maybe more. If you're interested in taste testing, let me know as there shall be a Casa Blivmore chili party sometime in the coming months.